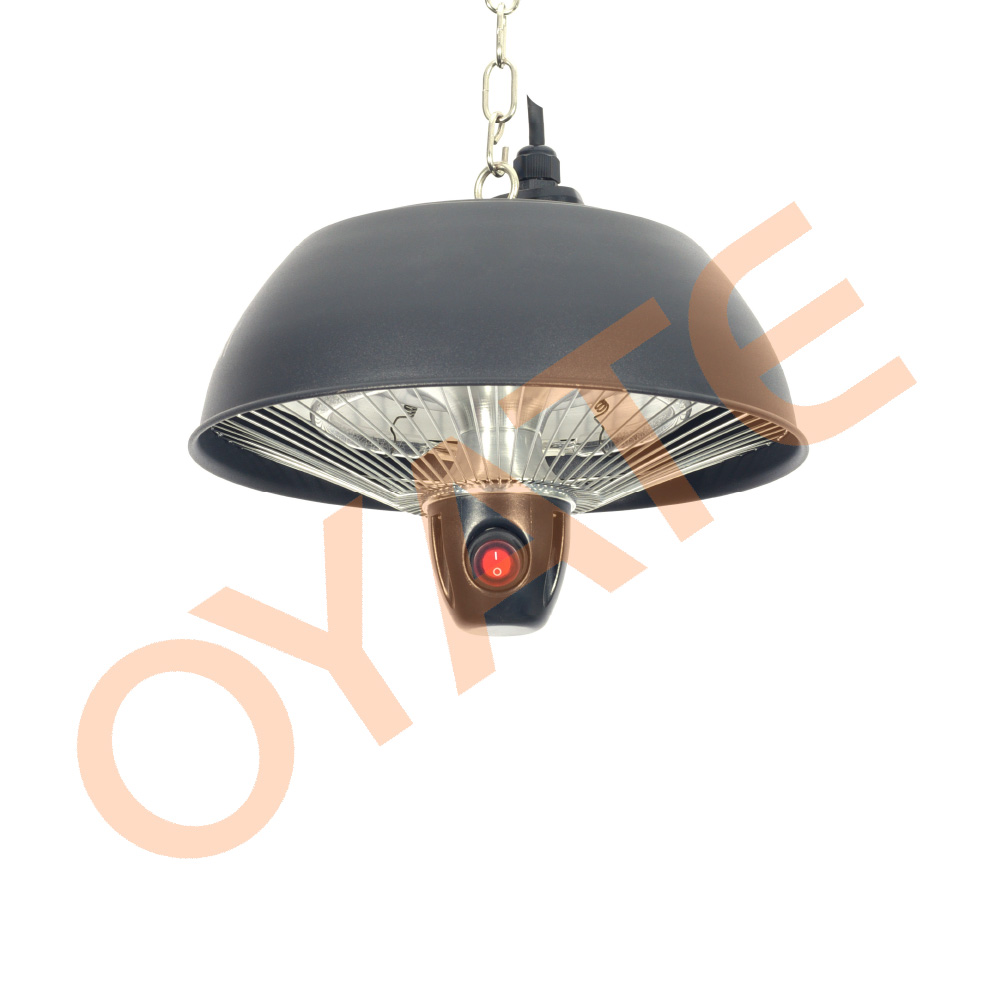
Putting infrared heating lamps in a bathroom is basically a war against steam. Water vapor is sneaky. It finds its way into housings, creates paths for electricity to wander where it shouldn’t, and—boom—you’ve got a short circuit or a leakage current. Not great. That’s why we obsess over the materials and how we seal the connection points. We want that electrical insulation to be bulletproof. Dealing with damp air If you’re installing a lamp in a dry shop, standard insulation is fine. But a bathroom? You need a much higher IP rating. We use high-grade ceramic insulators at the ends of the lamps. This stops the current from jumping over to the chassis. These ceramics have to be rated for the exact voltage of your lamp, otherwise, you risk a flashover. We also fit the housing with gaskets to keep the insides bone-dry. If steam leaks in, it hits the dew point and turns into condensation right on the live terminals. That’s a recipe for disaster. The “weakest link” problem The spot where the wiring meets the lamp is usually where things go wrong. Forget basic electrical tape—it won’t hold up here. Instead, we use sealed connectors or heat-shrink tubing with adhesive linings to lock moisture out. For the terminal blocks, we’re big fans of silicone-based potting compounds. It basically wraps the conductive parts in a protective cocoon. This stops “creepage,” which is just a fancy way of saying it prevents moisture from letting electricity crawl across the surface of the insulator. The trade-off Here’s the catch: when you seal a heater tight to keep water out, you’re also trapping heat around the wiring and the ballast. You can’t just use any wire. You need stuff with a higher temperature rating—usually silicone-insulated wire—so the casing doesn’t melt or crack under the pressure of the heat and humidity. Just be careful not to over-seal. If you block the airflow to the electronics entirely, you’ll end up burning out the controller. It’s all about finding that sweet spot.